You can always send us your messages, comments or suggestions.
In one click, store and find all your favourite recipes.
Add this recipe >Before starting this Valentine's Day Rose Cake recipe, organise all the necessary ingredients for the biscuit.
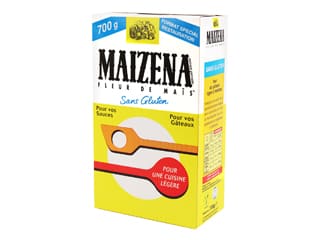
For the light biscuit: Sift the flour and cornflour (or cornstarch) over a sheet of greaseproof paper.
Pour the egg whites in the stand mixer recipient...
... and beat with a whisk until white and foamy.
Add the castor sugar in 3 or 4 batches...
... and beat until the egg whites are firm but not stiff.
The peaks should be curved when holding the whisk upside down. Set aside.
Tip the egg yolks over the meringue...
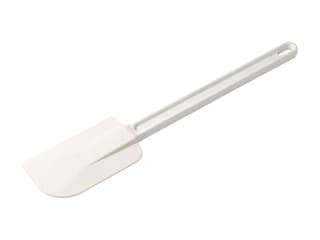
... and fold gently, using a rubber spatula.
Add the sifted ingredients before the egg yolks are completely incorporated.
Combine with the spatula until smooth and homogeneous. Make sure not to overwork the preparation.
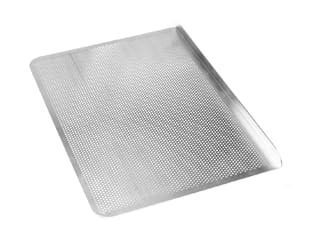
Pour the preparation into a Flexipan Entremets baking mat 33.5 x 33.5cm. Place a rack over a Silichef® perforated baking sheet so the Flexipan mat fit perfectly on it.
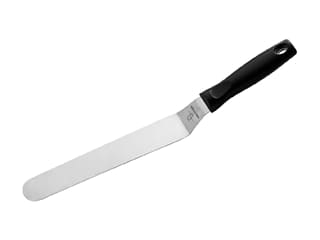
Spread the biscuit preparation to a regular thickness with a metallic cranked spatula.
Bake in a fan-assisted oven preheated at 180°C (gas 4)...
... for 15 to 20 minutes (depending on the type of oven).
When the biscuit is golden and slightly puffed, remove from the oven and set aside to cool at room temperature.
For the red berry/yuzu insert: Prepare the ingredients.
Heat the 70 grams of red berry purée in a saucepan...
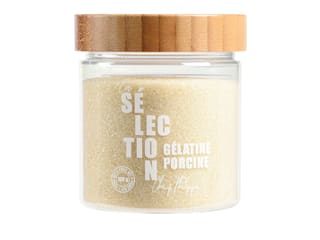
... and add the castor sugar and gelatine (rehydrated beforehand). Heat the preparation up to 60°C to dissolve the sugar and melt the gelatine.
Add the yuzu juice and combine carefully.
Transfer the preparation into a small bowl...
... and add the rest of red berry purée (150 grams) at room temperature...
... and combine with a whisk.
Stretch a sheet of cling film on one side of a mousse ring Ø 20cm to create a bottom.
Place the ring on a baking sheet, side with the cling film facing down.
Pour the preparation into the ring...
... and place in the freezer. You can prepare the insert several days in advance.
For the yuzu diplomat cream: Organise all the necessary ingredients.
In a saucepan, bring the milk to a boil.
Place the egg yolks in a mixing bowl...
... and half of the castor sugar. Keep the other half for the milk.
Blanch the egg yolks and the sugar with a whisk.
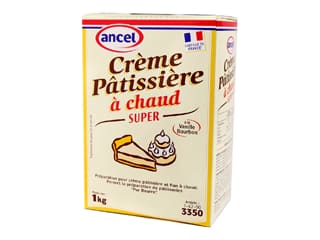
Add the crème pâtissière powder or corn starch...
... and combine.
Pour half of the boiling milk over the blanched preparation while whisking.
Return the pan with half the milk to the stove. When it starts boiling, add the preparation into a thin stream and combine with a whisk.
Cook the cream until thick. Continue cooking until the cream turns a bit more liquid.
Add the soft gelatine (rehydrated beforehand)...
... and the yuzu juice, then whisk vigorously.
When cooked, transfer the cream in a food tray...
... and cover the surface with cling film until it cools down to room temperature. Do not refrigerate.
When the diplomat cream has cooled down, beat the whipping cream until you get a whipped cream...
... making sure the consistency stays soft.
In a separate mixing bowl, place the yuzu cream...
... and whisk until smooth.
Place the whipped cream in the bowl...
... and fold gently with a rubber spatula...
... until smooth and homogeneous.
Transfer yuzu diplomat cream in a piping bag. The use of a nozzle is not necessary.
For the Kirsch syrup: In a saucepan, tip the castor sugar and water.
Bring to a boil and cook until the sugar has melted completely.
Transfer the syrup into a food tray so it cools down faster at room temperature.
Assembling the cake: Take the cold biscuit...
... and flip onto a sheet of greaseproof paper.
Detach the four corners of the Flexipan mould...
... and release the biscuit carefully.
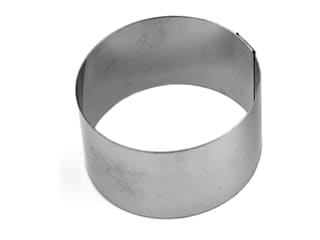
Using a stainless steel ring Ø 18cm, cut a disc of pastry.
Using a stainless steel ring Ø 20cm, cut a larger disc of pastry.
Place the rose silicone mould on a baking sheet.
Fill the bottom of the mould with the yuzu cream, making sure the cream goes right inside the grooves.
Cut a hole in the centre of the small biscuit disc, using a mousse ring Ø 5cm.
Place the biscuit disc over the cream...
... as shown in the photo.
Add the Kirsch liqueur to the cold syrup and combine. Steep the biscuit with the syrup, using a pastry brush.
Spread a thin layer of yuzu diplomat cream over the biscuit.
Release the frozen insert from the ring carefully with a knife.
Create a central hole in the insert with the mousse ring Ø 5cm. If the insert is too hard, let if soften at room temperature for about 5 minutes.
Place the insert in the mould, pressing gently with your fingers so it sticks to the cream.
This is what the result should look like.
Cover with a thin layer of yuzu diplomat cream and spread to an even thickness with a small cranked spatula.
Create a central hole in the second biscuit disc, using the mousse ring Ø 5cm. Place the disc over the cream.
Fill the gaps around the biscuit with the diplomat cream...
... and even the surface with the cranked spatula.
Steep the biscuit with a generous amount of syrup.
Wrap the mould with cling film and store in the freezer. Up to this stage, the cake can be prepared several days in advance and stored in the freezer.
For the modelling paste decorations: Get the colouring powder and modelling chocolate ready.
Soften the chocolate a little in the microwave, for 5 or 6 seconds.
Knead the chocolate and a small amount of pink colouring with your fingers...
... and flatten with your palm until you a homogeneous pink ball.
Roll out the pink paste to a thickness of 2 mm. Prepare 3 or 4 pink paste balls and roll out. Set aside.
For the velvet icing: Cover your workbench with greaseproof paper and place a baking sheet on top.
Remove the cake from the freezer and release carefully from the mould. The cake should be completely frozen for this operation.
This is what the cake should look like at this stage.
Apply the velvet pearl spray over the cake...
... making sure to coat the whole surface and sides...
... and between the grooves.
The result should be as shown in the photo.
Lift the cake carefully with two cranked spatulas...
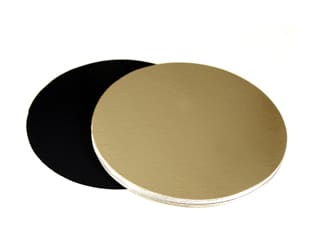
... and arrange it over a round cake board Ø 20cm. Leave the cake on your workbench while you're making the final decorations.
The pink chocolate paste should now be a little harder. Cut a straight base with a ruler.
Cut semicircles with a base of 8cm and a height of 6 or 7cm.
Flatten the edges of each semicircle with the cranked spatula on both sides to create a petal shape.
Arrange a pink petal on the side of the side of the cake. It should harden in contact with the frozen cake and stick easily.
Give a few finishing touches to the petal.
Repeat the operation for all the petals...
... until they go around the whole cake.
You will need 6 or 7 petals to get this result.
Apply a little bit of pink colouring over the top of the petals. Make sure you apply a very thin layer, just enough to give an iridescent finish.
Arrange the cake on a serving plate.
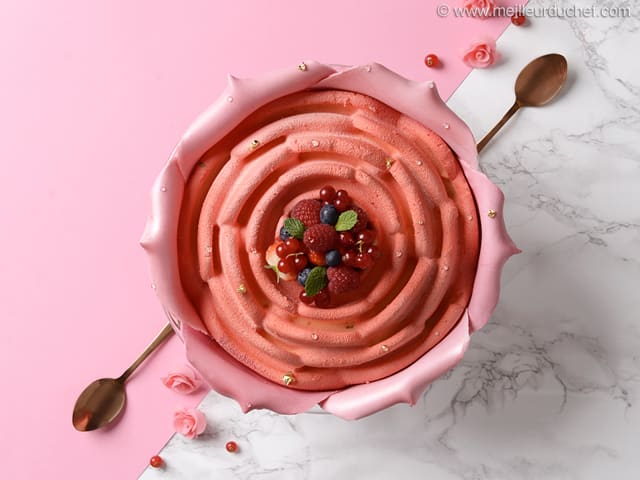
Fill the centre of the rose cake with red berries: strawberries, raspberries, red currants and blueberries.
Pipe a few drops of clear mirror glaze over the surface of the cake. These will imitate morning dew.
Arrange a few pieces of gold leaf over some of the clear drops.
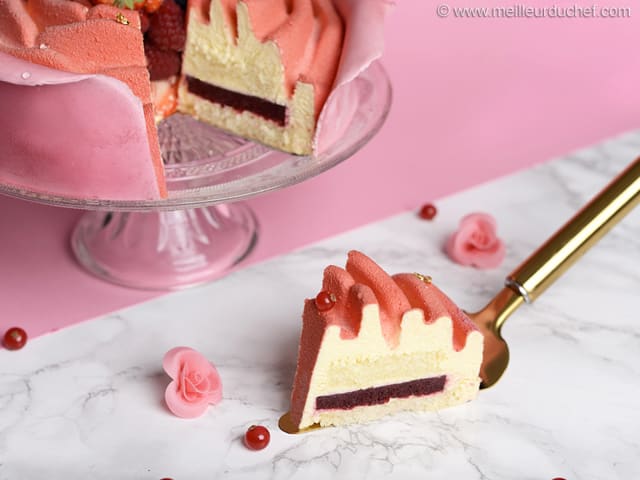
Finish a few mint leaves in the centre of the cake. The Valentine's Day Rose Cake is now done! Reserve in the fridge until ready to serve. This should take 3 to 4 hours.
Please login to post a review