You can always send us your messages, comments or suggestions.
In one click, store and find all your favourite recipes.
Add this recipe >Before starting this Wild Strawberries, White Chocolate and Cream Cheese Sorbet recipe, organise all the necessary ingredients for the meringue decorations.
Meringue decorations: Pour the egg whites in the stand mixer recipient.
Add the castor sugar.
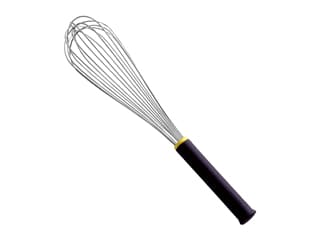
Combine with a whisk to incorporate the castor sugar.
Place the recipient over a bain-marie in a saucepan.
Whisk the preparation until hot. When touching the preparation with the tip of your finger, you should feel a stinging sensation due to the heat. Watch the intensity of the heat, as it could cause the egg whites to coagulate.
Place the recipient in the food mixer and beat...
... until you obtain a meringue. Continue beating until the meringue is cold. The Swiss meringue is now ready.
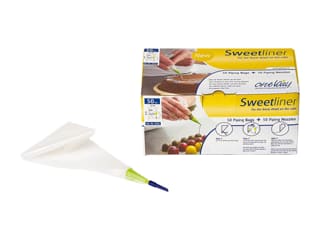
Transfer the meringue into a piping bag fitted with a plain nozzle.
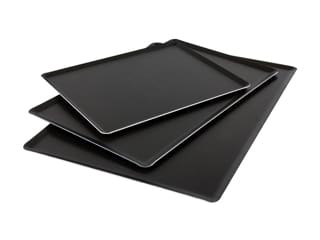
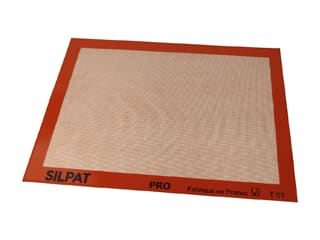
Pipe drops of meringue on a Silpat baking mat placed on top of a baking sheet.
To pipe the small meringues, hold the piping bag vertically, lay a small ball and quickly lift the bag to form a pointy end.
Bake in a fan-assisted oven preheated at 100°C (gas 1/4) between 1 and 1.5 hours.
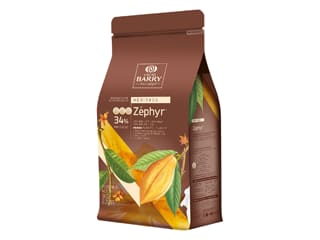
Tempering the white chocolate:Organise all the necessary ingredients.
Melt the chocolate over a bain-marie, stirring gently.
You can also melt the chocolate in the microwave, in periods of 20 to 30 seconds to make sure it does not burn.
When the chocolate has almost completely melted (only a few solid pistoles should remain), remove the recipient from the bain-marie. At this stage, the chocolate should be around 40°C.
Make sure the temperature doesn't exceed 45°C.
The chocolate will continue melting without exposing it to any source of heat. The chocolate should slowly get down to 34/35°C.
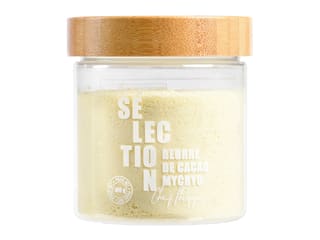
When the chocolate is 35°C, add the Mycryo cocoa butter.
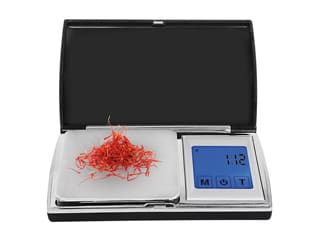
This is a powdered cocoa butter. The amount of cocoa butter used should be very accurate and a digital kitchen scale is essential.
Sprinkle the cocoa butter over the melted chocolate.
Wait for a little while and let the powder melt slowly without stirring. The chocolate will continue to cool...
... while stirring with a rubber spatula.
It is essential to monitor the temperature of the chocolate regularly. The most appropriate thermometer is a laser thermometer for an accurate reading without being in direct contact with food.
The chocolate is now close to 29°C.
Wait until it cools down to 28°C and it will be ready to use.
The chocolate is now ready to use.
Make sure the chocolate is maintained at 28°C while it is used.
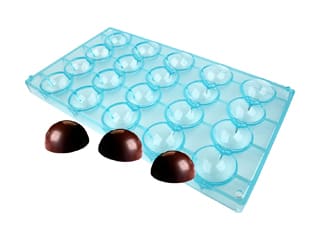
Creating the shells:Pour the tempered chocolate in the cavities of a half sphere copolyester mould.
Fill the cavities up to the top.
Tap the sides of the mould with a spatula handle to knock out any air bubbles.
Flip the mould to get rid of the chocolate excess. Collect the chocolate excess in a bowl and maintain at 28°C for a later use in the recipe.
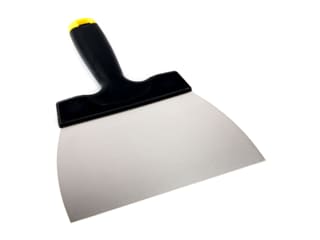
Scrape the surface of the mould with a chocolate spatula.
Place the mould upside down on a sheet of greaseproof paper and let the chocolate crystallize in the fridge for 15 minutes.
For the white chocolate rings: Place an acetate sheet on your worktop surface. Pour the tempered chocolate over the acetate sheet.
Cover with a second acetate sheet.
Using a rolling pin, spread the chocolate between both sheets of acetate.
Instead of rolling, slide the pin over the chocolate.
Spread the chocolate over the whole surface of the acetate and create a thin layer.
Wait until the chocolate has started to crystallize. This shouldn't take long at all.
When the chocolate is partially crystallized, use a plain cutter to create disc shapes.
Using a smaller cutter, create a smaller disc shape in the centre of each disc.
As mentioned earlier, the chocolate should be partially crystallized otherwise the shapes won't print properly in the chocolate.
Transfer the white chocolate...
... over a baking sheet.
Place another baking sheet on top...
... and refrigerate for 15 minutes until crystallized completely. It is important to maintain the plastic sheets flat to prevent them from warping, which is why we're using two baking sheets.
For the strawberry marmalade: Organise all the necessary ingredients.
Combine the pectin and castor sugar together.
Heat the strawberry purée up to 40/45°C.
Add the pectin and sugar mix, then whisk.
Bring to a boil then maintain the boil for about 30 seconds.
Pour the strawberry preparation into a large dish and spread to a thin layer...
... then cover the surface with cling film. Refrigerate.
Releasing the chocolate shells: Remove the half sphere mould from the fridge and flip on your workbench.
Gently slide the half sphere shapes out of the mould to release them. If the chocolate was tempered correctly, the shapes should come off easily.
Releasing the chocolate rings: Remove the tray from the fridge. Gently remove the polyethylene sheet on top.
Gently detach the chocolate rings. They should come off easily.
Detach the central discs as well.
At this stage, the result should look like this. Don't forget to make extra discs, in case some of them break. Set aside.
For the cream cheese sorbet: Organise all the necessary ingredients.
In a saucepan, pour the castor sugar and water.
Add the dehydrated glucose syrup and combine.
Bring to a boil and cook until you get a syrup.
Take the pan away from the heat as soon as you reach a boil.
Transfer the syrup into a bowl and refrigerate so it cools down to 4°C. Set aside.
For the Kirsch crème mousseline: Organise all the necessary ingredients.
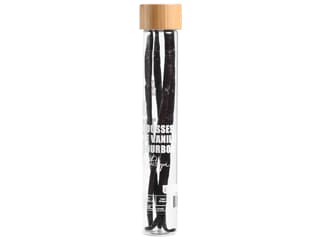
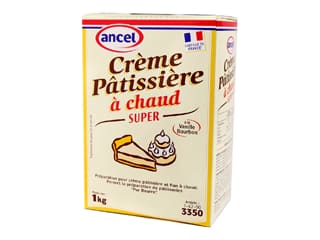
Make a crème pâtissière first. Pour the milk in a saucepan. Add the vanilla pod (or vanilla seeds). Place the pan over medium heat.
In a mixing bowl, place the egg yolks.
Add the castor sugar...
... and blanch with a whisk.
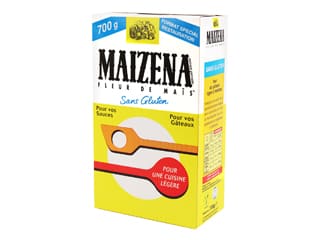
Add the crème pâtissière powder or cornflour.
Combine well with a whisk...
... making sure to get rid of lumps.
When the milk starts boiling, pour it over the blanched egg yolks.
Combine well with a whisk.
Transfer the preparation into the saucepan used to boil the milk...
... and cook over medium heat, whisking constantly to make sure the cream doesn't stick to the bottom of the pan.
When the cream starts to thicken, it is ready. Add 30 grams of butter to the hot cream and combine.
Pour the preparation in a recipient...
... and place cling film on the surface of the cream.
For the cream cheese sorbet (continued): Pour the yuzu juice in a jug.
Add the cream cheese (Philadelphia).
Add the syrup (which should have cooled down to 4°C)...
... and mix with a Bamix hand blender. Ideally, make this preparation the day before and refrigerate overnight.
Pour the sorbet mix into an ice cream maker...
... and churn between 30 and 40 minutes.
For the strawberry marmalade (continued): Transfer the jellied marmalade into a jug.
Mix the marmalade with a hand blender.
Transfer the marmalade into a piping bag. The use of a nozzle is not necessary.
Set aside.
For the crème mousseline (continued): Place the softened butter into the stand mixer recipient. Beat the soft butter for 5 minutes.
Add the cold crème pâtissière...
... and beat at medium speed. Scrape the dough on the sides of the bowl and resume mixing.
Within a few minutes, the cream should become smooth.
If the cream starts to curdle, you can fix it by slightly heating the sides of the bowl with a blow torch.
Add a drop of kirsch liqueur (optional).
The cream is now ready. The consistency should be perfectly smooth. If a few pieces of butter remain, repeat step #88 with a blow torch or reheat the bowl over a bain-marie.
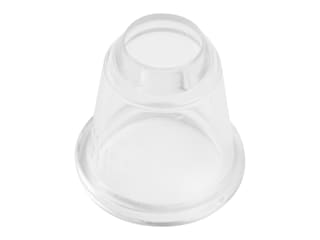
Transfer the cream into a piping bag fitted with a plain nozzle Ø 15 mm.
Assembling the cakes: Prepare all the elements.
Place the white chocolate discs on a baking sheet. They will serve as the base to our cakes.
Pipe a drop of melted chocolate in the centre.
Arrange the white chocolate half sphere on top, using a cooling spray to fix both parts together.
Fill with crème mousseline halfway up.
Pipe a nice dollop of strawberry marmalade, burying the tip of the bag inside the crème mousseline.
Fill the rest of the shell with crème mousseline.
Arrange a white chocolate ring around each shell.
Pipe more cream on top in the shape of a dome.
Arrange a few meringue decorations around the cream dome.
Repeat the same operation with all the shells.
Cover the cream dome with wild strawberries. Start with a first row around the dome.
Then cover the top of the dome with 4 strawberries.
Add more cream if needed.
Decorating the plates: Place one plate on a rotating tray. A children's toy can work too.
Using a decorating bag, pipe the strawberry marmalade into a spiral...
... starting from the centre of the plate. Don't worry if the spiral is not regular.
Using a brush with short bristles, spread the marmalade...
... in order to create a grooved disc. Always start from the centre.
At this stage, the result should look like this. Repeat the same operation with the remaining plates. Set aside.
For the sugar arches (optional): Organise all the necessary ingredients.
Pour the glucose syrup into a saucepan. Melt a little...
... and add the Isomalt sugar.
Combine with a rubber spatula.
Cook the syrup up to 160°C.
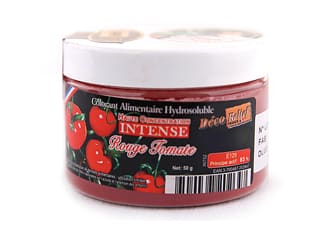
Add a some red colouring powder with the tip of a knife.
Combine with the thermometer probe.
Shake the saucepan a little until homogeneous.
Wait until there are no more bubbles and the sugar solidifies a little.
Grease a stainless steel ring Ø 8 cm.
Take some syrup with a teaspoon.
Let the sugar drip around the stainless steel ring to create an arch shape.
The arch should be as regular as possible.
Rotate the stainless steel ring with your wrist as you handle the sugar.
The sugar will set almost instantly.
Gently release the sugar arches over a Silpat baking mat.
This is what the result should look like.
Repeat the operation to create several arches.
For the finish (without sorbet): Arrange a cake very carefully in the centre of each plate. Drizzle Codineige decorating sugar over the cakes beforehand.
Arrange a sugar arch over each cake, placing both ends carefully between the strawberries and meringue decorations.
Placing a small piece of gold leaf on top of each red arch. Serve immediately.
For the finish (with sorbet): Using a teaspoon, shape oval quenelles of sorbet. You can prepare the shapes in advance and store them in the freezer on a sheet of greaseproof paper.
Place the sorbet on top of the strawberries, just before serving. Finish with a small piece of gold leaf sheet on top. Serve immediately.
The sugar arch is optional for this second alternative.
Please login to post a review