You can always send us your messages, comments or suggestions.
In one click, store and find all your favourite recipes.
Add this recipe >To make this Chaï Latte Christmas Yule Log recipe, start by preparing all the ingredients for the hazelnut sponge.
For the hazelnut sponge biscuit: Pour the icing sugar into the mixer bowl.
Add the whole egg.
... the egg yolks...
... add the hazelnut praline paste.
Blend these elements together at a medium speed initially, using the paddle attachment of the mixer.
Continue blending at a high speed for at least 5 minutes...
... until homogeneous.
Pour the egg whites, preferably aged and tempered, into a separate bowl...
...and whip them using the whisk attachment of the mixer.
Once the whites are well-whipped, gradually add the granulated sugar, continuing to blend...
...until a meringue is formed...
...that forms stiff peaks.
Pour the praline mixture over this meringue...
...and gently mix using a rubber spatula.
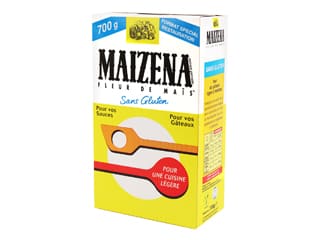
Sift the cornstarch using a fine strainer over the mixture...
...and gently mix with the rubber spatula.
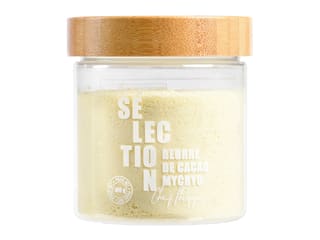
Add the cocoa butter or Mycryo cocoa butter, previously melted on very low heat. It should be just warm.
Mix again until you get a smooth and homogeneous hazelnut biscuit batter.
Using an oil spray, grease the silicone mat with raised edges.
Pour the hazelnut biscuit dough onto the mat...
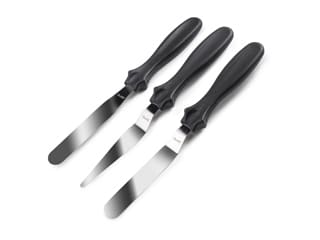
...and spread it evenly over the entire surface of the mat with a cranked spatula, using the edges to achieve a uniform thickness.
Smooth the surface of the dough with a ruler larger than the mould to ensure even thickness everywhere.
Bake in a fan-assisted oven preheated to 180°C (gas 4) between 12 and 15 minutes. This baking time may vary depending on the oven.
When cooked, remove from the oven...
... and place on your kitchen worktop.
Place a sheet of greaseproof paper over the biscuit...
...and flip the entire thing, holding both the paper and the silicone mat carefully to prevent the biscuit from breaking.
Gently remove the mat with raised edges to release the biscuit.
Then cover the hazelnut biscuit with a sheet of plastic wrap while it's still hot to retain its softness. This will help the biscuit retain the moisture inside. Allow to cool to room temperature.
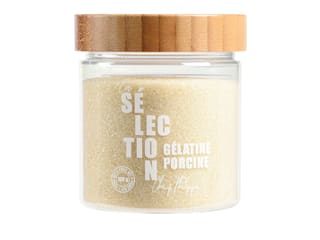
For the Chaï caramel crémeux: Organise the necessary ingredients. Mix the powdered gelatine with the hydration water (tap water or mineral water) and let it hydrate for 15 minutes.
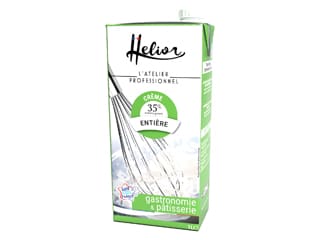
Pour the small amount of liquid heavy cream into a saucepan.
Add the spiced Chaï tea, bring to a boil and let it steep off the heat for 20 to 30 minutes.
Pour the glucose syrup and water into a saucepan.
Add the castor sugar...
... and combine with a spatula.
Bring everything to a boil and continue cooking over medium heat while stirring the mixture...
...until a blonde caramel is obtained. It shouldn't be too brown, as it would become bitter.
Once our blonde caramel is ready, cool it down by adding the hot cream infused with spiced Chaï tea. This will be filtered through a tea strainer.
Stir vigorously with the spatula to dissolve the caramel completely in the cream.
Pour the beaten and weighed egg yolks into the warm caramel, stirring with the spatula.
Cook this mixture like a crème anglaise, being careful not to exceed 82°C.
Add the rehydrated gelatine...
...and the fleur de sel, and mix vigorously until the gelatine is fully incorporated.
Strain this cream through a fine strainer into a bowl.
Add the softened butter cut into cubes...
...and mix until you get a smooth and homogeneous preparation. Let this Chaï caramel cream cool a bit before moulding it.
Take the hazelnut biscuit and trim one side.
Cut a 3.5cm wide strip using a knife and a ruler...
...and a second strip 9cm wide...
... as shown in the photo.
Then cut the narrower strip to a length of 23cm.
And cut the second strip of hazelnut biscuit to a length of 24cm. This will be the base of the Yule log.
Soaking syrup: Boil the water in a saucepan.
Add the Chai spiced tea...
...and let it steep for at least 10 minutes.
Once the tea is steeped, strain it through a tea strainer into another saucepan.
Add the caster sugar and combine.
Bring this mixture to a boil and let it boil until the sugar is completely dissolved.
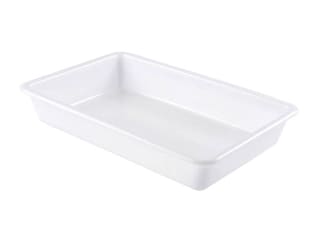
Transfer this soaking syrup to a large, flat food-safe container for rapid cooling.
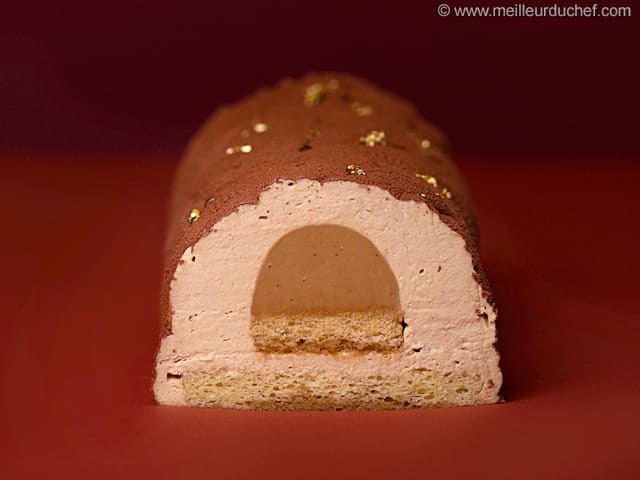
Take the Yule log insert mould and trim it to measure 24cm. Refer to the 'Chef's tip' section at the end of the recipe to adapt the insert mould to the correct size. Pour the warm Chai caramel cream into one of the two cavities, leaving a 0.5cm border to accommodate the biscuit.
Place the narrow strip of hazelnut biscuit in the mould, directly in contact with the Chai caramel cream.
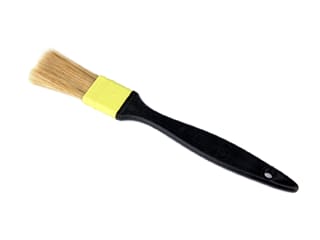
Using a pastry brush, soak the biscuit with the soaking syrup.
Cover it with plastic wrap while it's still hot to preserve its moisture. Allowing it to cool at room temperature.
Spiced whipped ganache (to be made the day before): Start by hydrating the powdered gelatine with hydration water, as we did earlier. Then pour the liquid heavy cream into a saucepan...
... and bring to a boil.
Stop the heat, add the Chai spiced tea, and stir.
Cover the saucepan with plastic wrap, making sure the wrap touches the edges, and let it infuse for 20 to 30 minutes.
Once the infusion is complete, remove the plastic wrap.
Pour the tea-flavoured cream through a fine sieve into another saucepan to strain it.
Use a spatula to press down on the Chai tea at the bottom of the strainer to extract all the flavours.
This is our Chai spiced tea-flavoured cream.
Gather all the ingredients needed to make the spiced whipped ganache.
Place the white chocolate into a bowl...
...and melt them in the microwave in 20 to 30-second increments, stirring between each melting step.
Reheat the cream and bring it to a boil.
Pour half of the hot cream in a fine stream over the melted white chocolate...
... and combine well with a rubber spatula.
Then pour the rest of the cream while continuing to mix with the spatula.
Add the hydrated gelatine to the still warm mixture so that it can melt and fully incorporate into the chocolate cream.
Stir vigorously until the gelatine is fully incorporated.
Cover this spiced ganache by placing plastic wrap directly on its surface. Place it in the fridge. It's preferable to make this preparation the day before so that it can cool completely.
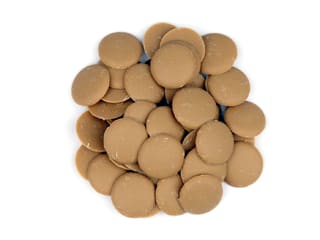
Coating the biscuit with chocolate: Place the blond chocolate chips in a bowl...
...and melt them in the microwave in 20 to 30-second increments, stirring between each melting step.
Using a pastry brush, brush the hazelnut biscuit strip that serves as the base of the Yule log with this melted blond chocolate. This will help contain the soaking syrup when assembling the dessert.
For the crunchy biscuit: Organise the necessary ingredients.
In a separate bowl, place the almond and hazelnut praline paste.
Add the melted cocoa butter...
... and combine gently with the rubber spatula.
Add the pailleté feuilletine flakes as well as the blend of four spices...
...and mix again until you have a homogeneous crunchy praline layer.
Once the blond chocolate has crystallized...
...flip the hazelnut biscuit base over.
Soak the hazelnut biscuit with the soaking syrup.
Then pour the crunchy praline layer onto the soaked biscuit...
...spread and press it across the entire surface...
...using a mini palette knife and a scraper to hold the preparation in place and define the border.
You'll achieve this result.
Spiced whipped ganache (continued): The next day, remove the spiced ganache from the fridge and remove the plastic wrap.
Whip this spiced ganache with the whisk attachment on the mixer...
...until the mixture becomes white and thick. It will have a whipped cream-like consistency.
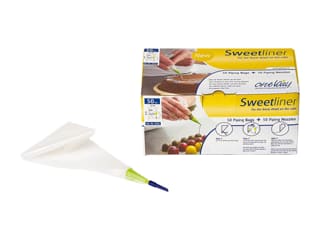
Transfer this whipped spiced ganache to a piping bag. A nozzle isn't required in this case.
Place the silicone texture mat on the work surface and spread about 3 to 4 tablespoons of the whipped spiced ganache with an angled spatula, making sure to fill all the recessed areas...
... as shown in the photo. There should be no empty spaces. This filling method will help avoid air bubbles.
Place this silicone texture mat in the Silikomart silicone Yule log mould.
Make sure the mat is well centred...
... to achieve this result.
Here are our elements for assembling the yule log.
Remove the yule log insert mould from the freezer and release the Chai caramel cream.
Pipe the spiced whipped ganache into the yule log mould, directly on the silicone mat that was previously filled with preparation.
Place the insert in the mould with the rounded part facing down...
...pressing it lightly with your fingers into the spiced whipped ganache (but not all the way to the bottom of the mould).
Soak the hazelnut biscuit with the soaking syrup again.
Cover the insert with the remaining spiced whipped ganache...
...and place the biscuit base on top. The crispy part should be underneath, in direct contact with the ganache, and the chocolate-covered part on top.
Cover everything with cling film and place it in the freezer. Up to this stage, this yule log can be prepared several days in advance and stored in the freezer.
Finish: On the day, remove the silicone mould from the freezer and remove the plastic film.
Release the yule log from the mould and remove the silicone mat. It should be frozen throughout for optimal unmoulding.
Place the dessert on a baking sheet lined with plastic wrap. You can place the tray on a cake turntable for easy decoration.
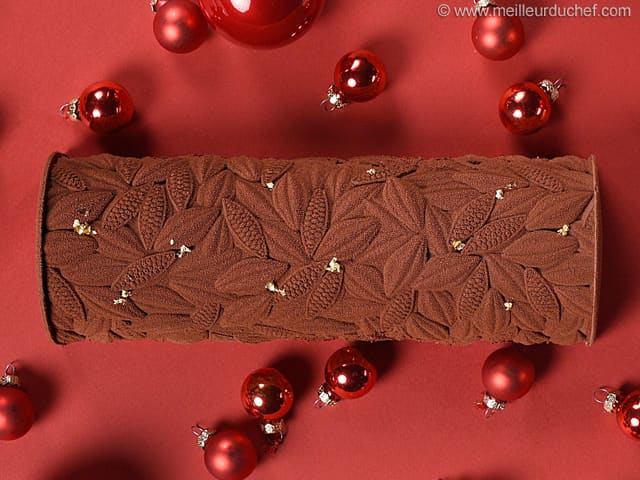
Shake the caramel velvet spray until the ball inside clicks. Then spray from a distance of 20/30cm onto the yule log, covering the entire surface.
Take the yule log with a large cranked spatula and place it on a serving plate.
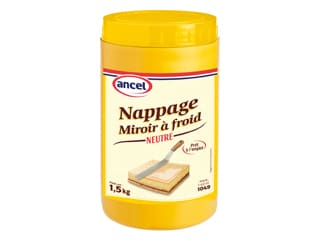
Complete the decoration by piping a few drops of neutral mirror glaze that has been placed in a decorating cone. These drops should be placed harmoniously between the different patterns on the surface of the yule log.
Place dots of gold leaf on the drops of glaze...
... as shown on the photo.
This is our decorated Chai Latte Christmas yule log. You will need to place it in the fridge for 4 to 5 hours to thaw completely before serving. Bon appétit!
The plastic insert mould used has a length of 32cm. I cut the mould with a pair of scissors and fitted the two parts together so that the whole thing measured 24cm in length. I taped the two parts of the mould together so they would hold in place.
Please login to post a review