


Cookies 🍪
By clicking "Accept", you authorize Meilleur du Chef to store cookies on your device to personalize site content, analyze our traffic, and provide social media functionality.
Favourites

You can always send us your messages, comments or suggestions.


In one click, store and find all your favourite recipes.
Add this recipe >
To make this chocolate hazelnut Easter nest recipe, start by preparing all the ingredients for the chocolate sponge.

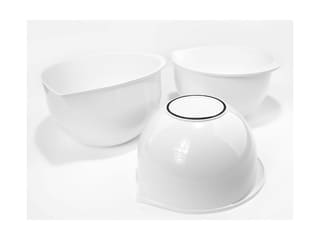
Chocolate sponge: Pour the egg yolks into the stand mixer bowl.

Add the caster sugar...

...and blanch these ingredients using the whisk attachment at high speed until the mixture doubles in volume. This should take several minutes.

Meanwhile, sift the cocoa powder and flour onto a sheet of parchment paper.

While you're mixing the egg yolk mixture, pour the egg whites into a second bowl. If you only have one bowl, wait until the yolks and sugar are fully whipped before cleaning the bowl and proceeding with this step.

Add the caster sugar right from the start.

When the egg yolks and sugar are blanched, stop the mixer.

Place the second bowl on the mixer and start whisking.

Whip the egg whites until stiff peaks form.

The meringue should form a "bird's beak." Adding the sugar at the beginning of the process ensures a smooth meringue that won't become grainy.

Take a portion of the meringue and add it to the whipped yolk mixture...

...and mix vigorously using a rubber spatula.

Add the sifted cocoa powder and flour...

...and mix quickly but without fully incorporating them.

Add the remaining whipped egg whites...

...and gently fold them in with a rubber spatula, without mixing excessively.

Take a small portion of the chocolate batter (about one scoop with the spatula) and mix it with the melted butter, cooled down beforehand. This pre-mixing step ensures a better incorporation of the butter.

Pour this pre-mix back into the rest of the batter...

...and gently fold it in, ensuring all elements are homogeneous. The batter should remain light and airy.

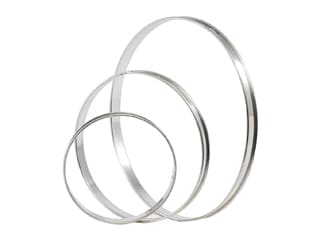
Place a 16cm mousse ring (4.5 cm high) on a baking sheet lined with parchment paper and pour in the chocolate biscuit batter. There's no need to grease the ring.

Spread the batter towards the edges of the ring using a scraper or rubber spatula. To prevent the formation of a dome during baking, create a sunken centre (as shown in the photo).

Bake in a ventilated oven preheated to 160°C for about 25 minutes. Baking time may vary depending on the oven, so check for doneness before removing the biscuit from the oven.

Praline crémeux: Prepare all the ingredients. Mix the powdered gelatin with the hydration water (tap or mineral water) and let it bloom for 15 minutes.

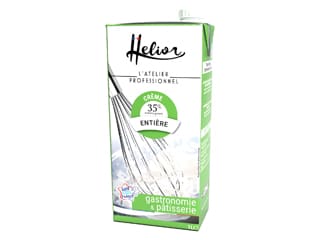
Pour the milk and whipping cream into a saucepan, then place on the heat.

Place the egg yolks in a mixing bowl.

Add the caster sugar...

...and whisk until the mixture is pale and smooth, continuing until you no longer hear the sugar crystals scraping against the bowl. This should take 1 to 2 minutes.

Keep an eye on the milk and cream to prevent them from boiling over.

Take a 14cm tart ring and seal one side with plastic wrap. There's no need to stretch the plastic too tightly.

Tip: To tighten the plastic wrap, briefly place the tart ring with the wrap in a warm oven for a few seconds, then remove it. The wrap will automatically stretch. Note that this only works with professional-grade cling film.

When the milk and cream come to a boil, pour the egg yolk and sugar mix into the saucepan.

Whisk and bring the mixture back to a boil.

Once it starts boiling, remove from the heat and continue stirring to prevent the eggs from scrambling.

Add the hydrated gelatin. You can melt it in the microwave for a few seconds beforehand.

Add the hazelnut paste...

...and the hazelnut praline...

...and mix vigorously until fully combined.

Pour the praline crémeux into the tart ring (with the film facing down) and place it in the freezer.

Chocolate mousse (make the day before): Pour the water and caster sugar into a saucepan.

Mix to evenly moisten the sugar and bring to a boil.

Meanwhile, place the egg yolks and whole eggs into the mixer bowl and whisk.

When the sugar syrup reaches a boil...

...stop the mixer. The sugar syrup should reach 118°C.

Pour the cooked sugar in one go over the egg mixture.

Restart the mixer and whisk until the mixture has completely cooled.

Melt the dark chocolate in the microwave in 20 to 30 second intervals, stirring every time to prevent burning.

Pour the cold whipping cream into a second mixing bowl.

Whip the cream to a soft peak consistency (not too stiff, not too loose).

Meanwhile, line the rim of a 20cm mousse ring with a strip of acetate sheet cut to the same height. Place the ring on a cake board.

Incorporate a small amount of whipped cream into the melted chocolate...

...and quickly whisk to prevent the chocolate from crystallizing in the cold cream.

The mixture should have a creamy consistency.

Add the whipped egg and sugar mixture (called "pâte à bombe")...

...and mix vigorously with a whisk until fully combined.

Add the rest of the whipped cream and finish mixing with the whisk until you get a smooth chocolate mousse. Transfer this mousse into a piping bag.

Once the biscuit has cooled down, release it from the ring by running a knife blade between the cake and the stainless steel ring.

This is what the result should look like.

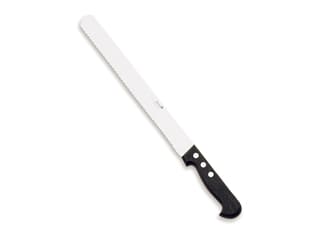
Using a serrated cake knife, carefully cut the chocolate sponge cake...

...into three equal layers of the same thickness. We will need two chocolate biscuit discs for this recipe. The third disc can be stored in the freezer for later use.

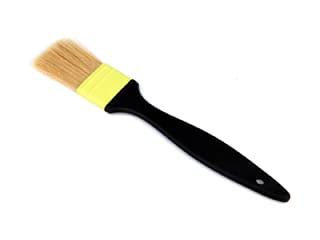
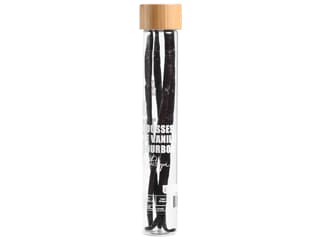
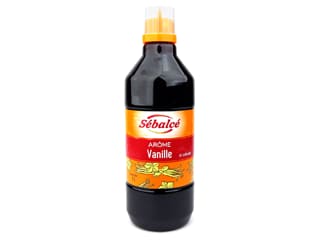
Using a pastry brush, soak the sponge cake with vanilla syrup (made beforehand using a 30° Baumé syrup). You can also use a vanilla-flavoured cane sugar syrup by adding a little liquid vanilla. Both layers of chocolate sponge cake must be soaked.

Pipe a ring of chocolate mousse along the sides of the mousse ring lined with an acetate strip.

Using a rubber spatula, spread the mixture around the rim to avoid air bubbles.

Place the first chocolate sponge disc at the bottom of the mousse ring.

Pipe a layer of chocolate mousse over the biscuit in a spiral motion, starting from the centre.

Remove the praline insert from the freezer and take off the plastic wrap, making sure it does not tear.

Gently release the insert by slightly warming the stainless steel ring with your hands, or a kitchen blowtorch.

Place the insert in the centre of the ring and gently press it into the chocolate mousse to bury it a little.

Fill the gap around the praline insert with chocolate mousse, and cover the surface of the insert as well.

Place the second disc of chocolate biscuit on top, pressing it down slightly so that it sits flush with the top of the ring (it should not stick out).

Cover with the remaining chocolate mousse...

...and smooth the surface using an offset spatula.

Cover the surface with plastic wrap and place store in the freezer. This recipe can be made up to this stage several days in advance.

Two-Chocolate Chantilly: Heat the whipping cream in a saucepan.

Place the milk chocolate in a mixing bowl...

...and add the dark chocolate.

When the cream reaches a boil...

...pour it over the chocolate.

Stir until the chocolate has fully melted into the cream, forming a smooth and homogeneous mixture.

Cover the bowl with plastic wrap in direct contact and refrigerate.

Chocolate shavings: Melt 200g of dark chocolate in the microwave, heating in 20 to 30 second intervals and stirring every time, making sure it doesn't exceed 45°C.

Pour the smooth chocolate onto a clean work surface (or marble or granite slab)...

...and spread it out using an offset spatula, pulling the chocolate towards you.

Continue spreading the chocolate by moving the spatula from right to left without stopping...

...then repeat from top to bottom, always without stopping, until the chocolate begins to crystallize.

When the dark chocolate has crystallized...

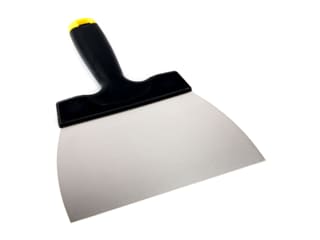
...score the surface with the corner of a chocolate spatula, creating zigzag patterns diagonally (see photo).

Repeat the operation in the opposite direction, still making zigzag cuts. For a clearer explanation, watch the recipe video (watch our video for more details).

Scrape the chocolate shavings off with the chocolate spatula, pressing firmly against the work surface. The chocolate should naturally curl up. If it doesn't, it means the chocolate might be still too warm or too cold.

Gather the chocolate shavings...

...and place them on a sheet of parchment paper. Set aside.

Two-Chocolate Chantilly (continued): When the chocolate cream is well chilled, take it out of the fridge and pour it into the stand mixer bowl.

Whip this mixture using the whisk attachment to aerate it.

The two-chocolate whipped cream.

Assembly: Remove the cake from the freezer and take off the plastic wrap along with the mousse ring. The ring will come off easily thanks to the acetate strip.

Remove the acetate strip.

This is what the result should look like.

Fill a piping bag fitted with a 12mm round nozzle with the two-chocolate Chantilly...

...and pipe a ring of Chantilly around the sides of the cake, holding it with one hand and the piping bag with the other.

Smooth the Chantilly with a scraper all around the sides.

Slide a cranked spatula over the edges of the cake to get a neat result...

...and pipe a thick lace of chocolate Chantilly on the edges of the cake, forming three layers.

Divide the chocolate shavings into two batches. Break one batch into small pieces to decorate the sides of the entremets, and arrange them directly onto the chocolate Chantilly...

... as shown in the photo.

Arrange the larger chocolate shavings on the surface of the entremets to create a nest.

This is what the result should look like.

Decoration: Dust the surface of the entremets with Codineige sugar or icing sugar.

Pipe two or three drops of chocolate Chantilly on the surface of the cake (they will serve as a glue).

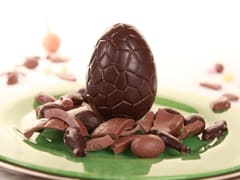
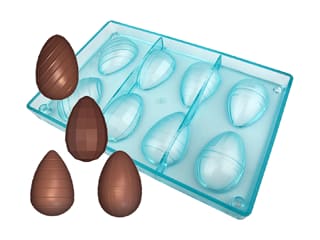
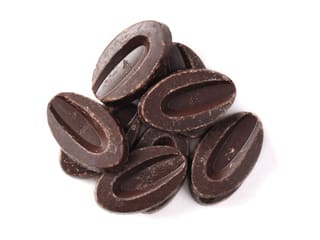
Arrange a chocolate egg on top of each Chantilly drop. Irecommend following our recipe for chocolate Easter eggs.

Our chocolate & hazelnut Easter nest is now finised. Leave to defrost in the fridge for 5 to 6 hours.
I recommend adding the final decoration (icing sugar and chocolate eggs) over the defrosted cake. Enjoy this delicious Easter dessert!
Please login to post a review