You can always send us your messages, comments or suggestions.
In one click, store and find all your favourite recipes.
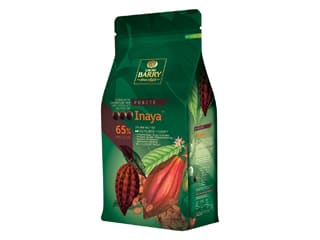
Add this recipe >Use any dark chocolate of your choice but make sure it is a chocolate couverture (usually sold in pistoles or chips).
You need to temper the chocolate couverture to make sure the result is glossy and it releases easily from the mould. Follow our tempering technique for white chocolate and milk chocolate.
Every type of chocolate has a specific temperature curve. I recommend using a laser thermometer.
If you're making caramelized white chocolate from scratch, you'll need Mycryo cocoa butter for tempering.
Transfer the tempered chocolate into a piping bag. The use of a nozzle is not necessary.
Cut the tip of the piping bag to obtain a diameter of about 3 or 4mm.
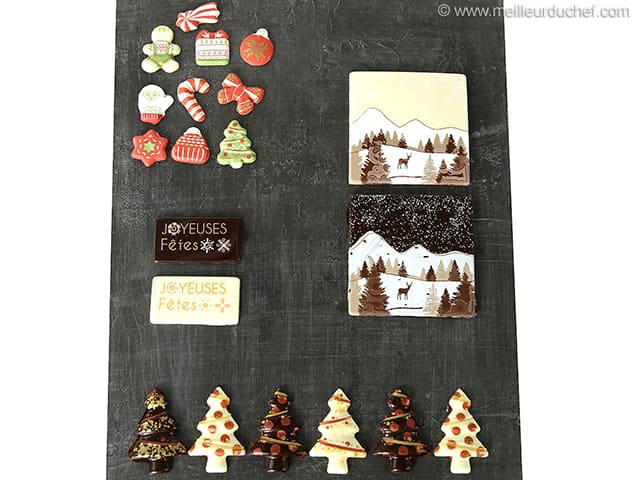
Fill the printed thermoformed moulds with the pattern of your choice among the four different decorations available: (Christmas trees, Season's Greetings, Christmas figures or mountain scene for yule log tip).
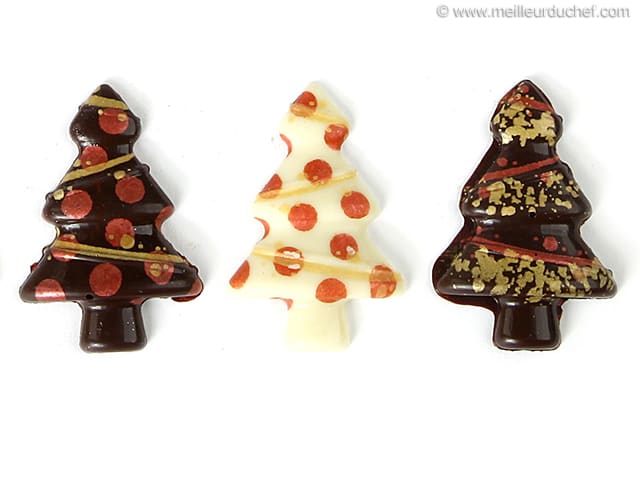
Fill the tree-shaped cavities with tempered chocolate.
Gently tap the mould on your workbench to even the surface and knock out any air bubbles.
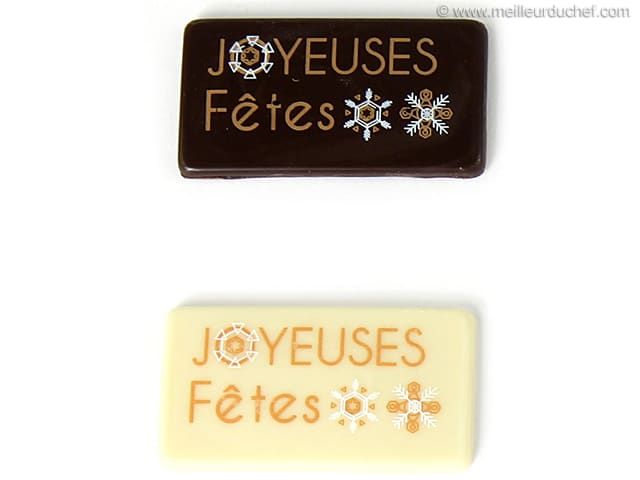
Repeat with the Season's greetings mould. Start piping the chocolate along the rim of the cavities and fill the centre.
Gently tap the mould on your workbench...
... to even the surface and knock out any air bubbles.
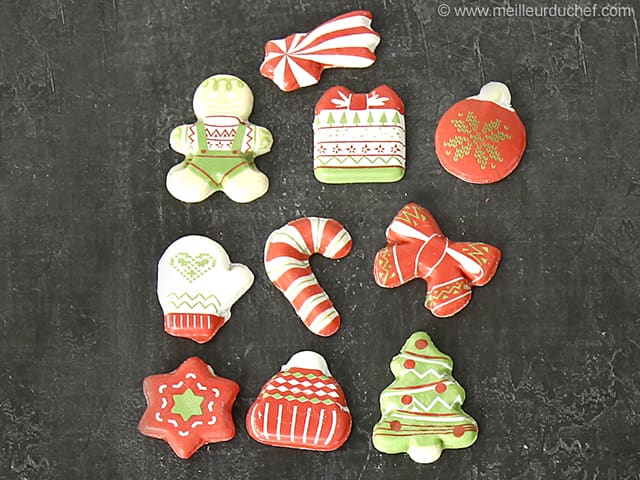
Repeat with the Christmas figure cavities. Gently tap the mould on your workbench to even the surface and knock out any air bubbles. Let the chocolate crystallize at room temperature (ideally 18°C).
When the chocolate has crystallized, press gently on the mould to release the chocolates. Thanks to the flexible plastic material, the chocolates should come off easily.
These transfer moulds are single use only.
Release the Christmas trees...
... and the Christmas figures.
When crystallized...
... release the 'season's greetings' rectangles. The perfect decoration for your Christmas dessert!
Please login to post a review