You can always send us your messages, comments or suggestions.
In one click, store and find all your favourite recipes.
Add this recipe >Before starting this Raspberry & Chocolate Entremets recipe, make sure you have organised the necessary ingredients for the cocoa biscuit.
In the stand mixer bowl, place 250 grams whole eggs, 100 grams egg whites and 250 grams castor sugar.
Beat at maximum speed...
... for about 10 minutes. The preparation should be pale and fluffy. This preparation is a cold pâte à bombe, since it is prepared with cold ingredients only without the need to heat them over a bain-marie. Remove the bowl from the mixer and set aside.
In a separate bowl, place 100 grams egg whites. Start beating the egg whites and gradually add the remaining sugar (80 grams).
After beating for a few minutes, you should obtain a meringue. The consistency should be foamy but not too firm.
Add the meringue to the cold pâte à bombe...
... making sure to scrape the sides of the bowl...
... and fold gently with a rubber spatula.
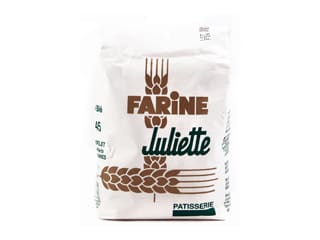
Sift the flour and cocoa powder together over the preparation.
If there are small lumps of powder left in the sieve, squash them with a spoon and sift.
Mélanger doucement avec la maryse, de manière à bien incorporer la farine et le cacao en poudre.
Pour half of the preparation in a Flexipan Entremets baking mat (33.5 x 33.5cm), placed on top of a baking sheet or rack. This will provide a rigid base to handle the flexible silicone mat.
The quantities listed above allow you to make two square biscuits.
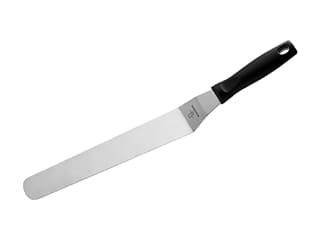
Using a metallic cranked spatula, spread the preparation over the whole surface and create an even layer.
Cook in a fan-assisted oven at 180°C (gas 4) for about 15 or 20 minutes. To check whether the biscuit is cooked, touch the surface with your finger: the biscuit shouldn't stick.
For the raspberry compote: Organise all the necessary ingredients.
In a saucepan, place the frozen raspberries and pour the raspberry purée on top.
Heat the preparation until the temperature reaches 40°C.
In the meantime, combine the pectin NH powder and castor sugar together.
Add the pectin and sugar mix to the hot raspberry preparation. Combine with a whisk away from the heat.
When the pectin and sugar are completely incorporated, return to the heat to maintain the preparation at 40°C. Combine frequently.
Pour the raspberry preparation into the moon-shaped insert silicone mould, to a thickness of 3 or 4 mm.
Place the raspberry insert in the freezer. This can be prepared days or weeks in advance, then stored in the freezer.
Cut the cocoa biscuit into a moon curve shape. First, cut a moon curve shape out of a cake board. This will serve as a guide. The cardboard is cut to the inner dimensions of the moon silicone mould. Store the curved biscuit in the freezer, then spread a thin layer of Pralin Feuilletine on the surface of the biscuit. Reheat the Pralin Feuilletine filling up to 30°C to soften it.
You can use Cara Crakine filling as a substitute.
One side has a caramel coating...
... and the other side is plain cocoa biscuit.
Place the moon-shaped biscuit on top of the raspberry insert, which is almost frozen. Press gently on the biscuit to make it stick. The side with the caramel coating should be facing down, i.e. in contact with the raspberry preparation.
Return to the freezer.
For the chocolate mousse: Pour the milk in a saucepan and place over medium heat. In the meantime, tip the egg yolks in the stand mixer recipient...
... and add the sugar. Blanch these two ingredients...
... with the whisk.
Add the hot milk over the blanched preparation. Combine well.
Transfer the preparation into the saucepan used to boil the milk.
Cook the preparation 'à la nappe' (i.e. until the consistency is thick enough to coat the back of a spoon).
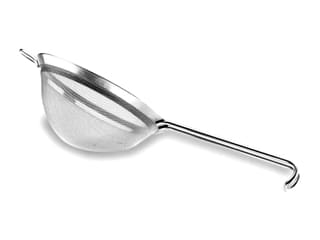
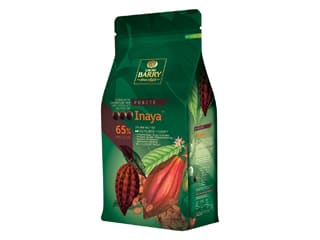
Place the chocolate pistoles in a separate bowl. Pass the hot cream through a fine sieve, directly over the chocolate.
Gently combine the ingredients. The chocolate chips will melt very quickly...
... and will blend into a homogeneous preparation. Let the chocolate preparation cool down to 35°C (it should not exceed 40°C).
Add the whipped cream (it should not be too stiff) to the chocolate preparation.
Combine gently with a rubber spatula...
... until homogeneous.
Scoop the chocolate mousse into a piping bag.
Fill the large moon-shaped silicone mould with the chocolate mousse. Make sure you fill all the small cavities at the bottom of the mould so there are no air bubbles. Fill with chocolate mousse up to 1/3.
Remove the raspberry and chocolate insert from the freezer and release it gently carefully from the mould. Thanks to the flexible silicone material, this operation should be really easy.
Arrange the frozen insert on top of the chocolate mousse...
... and bury it gently to remove any air bubbles.
The mousse should come up a little on the sides of the insert.
Using a cranked metallic spatula, spread the chocolate mousse into an even layer...
... and add more mousse if needed.
Leave a small gap on top for a second layer of cocoa biscuit.
Arrange a layer of biscuit, also cut into a curved shape, on top of the chocolate mousse. Beforehand, coat the surface of the biscuit with Pralin Feuilletine or Cara Crakine.
With a cranked metallic spatula, even the chocolate mousse on the sides of the biscuit.
Cover the surface with cling film and store in the freezer. Up to this stage, this dessert can be prepared days or weeks in advance,
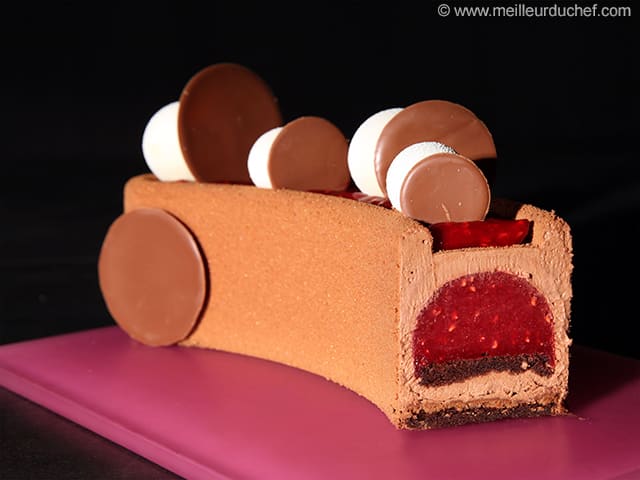
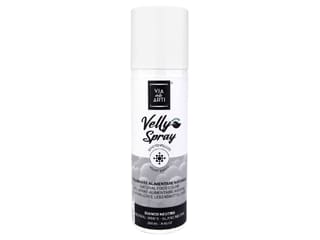
For the finish: Release the frozen cake from the silicone mould. Thanks to the flexible silicone material, this operation should be really easy. Simply flip the mould and pull it upwards. As shown in the photo, you can see one bare frozen cake, whereas the second one has been coated with a chocolate velvet finish. You can make your own velvet icing and use a spray gun, or simply use a ready-to-use velvet pearl spray. Make sure you reheat it in a bain-marie up to a temperature of 40 or 50°C. Then spray the coating onto the frozen cake.
Place the remaining raspberry compote in a piping bag (mix it again beforehand) and fill the top cavity of the cake. The use of a nozzle is not necessary.
Pipe the raspberry compote carefully, in a zigzag pattern.
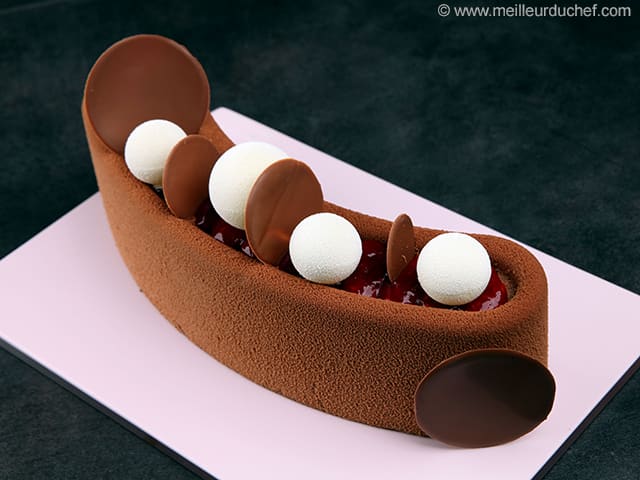
Arrange a few white chocolate spheres, prepared with Zéphyr white chocolate and coated with a white pearl velvet finish.
These spheres are very fragile, so make sure you handle them carefully. Alternate between spheres of different sizes.
Arrange a few chocolate discs, alternating between different diameters. Arrange them vertically between the white spheres.
The decoration is very graphic and chic.
Alternative: This cake is exactly the same as the moon-shaped one, except we used a round silicone mould.
The elements and components are identical, the only difference being the icing. We coated this cake with a dark chocolate mirror icing.
You can decorate the surface of the cake with a few pieces of gold leaf for a more festive effect.
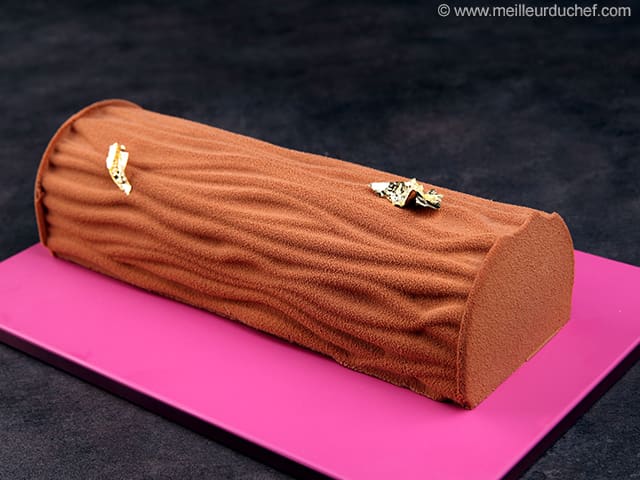
Third decoration option: This cake is exactly the same as the two previous ones, except we used a yule log silicone mould with a wood pattern. We coated the cake with chocolate velvet spray.
The wood effect is sufficient in terms of decoration. If you wish, arrange a few pieces of gold leaf on the surface.
We hope you will like one of these three decorations!
Before adding to the fruit purée, it is essential to combine the pectin NH and castor sugar together beforehand to avoid lumps.
Please login to post a review
Just a little confused, the ingredients, does it make all three cakes?
Or just one.