You can always send us your messages, comments or suggestions.
In one click, store and find all your favourite recipes.
Add this recipe >Before starting this Fraisier Strawberry Wedding Cake recipe, organise the necessary ingredients for the génoise sponge.
Proportions given in this recipe make 3 sheets of sponge cake (40 x 30cm).
For the génoise sponge sheets: Break the hole eggs into the stand mixer recipient.
Add the castor sugar.
Using a hand whisk, whip over a bain-marie. Using a hand whisk, whip over a
Finish beating with the food mixer or electric whisk until cooled down completely.
If you do not have a food mixer, you can finish beating manually.
The preparation is ready when doubled in volume.
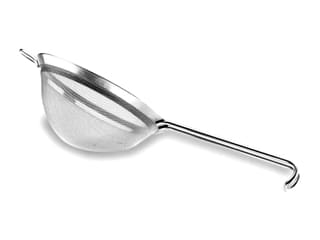
Using a fine sieve, sift the flour and add it to the preparation...
... stirring gently with a rubber spatula or a skimmer in rotating motions.
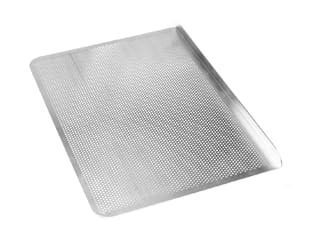
Pour the preparation on a Silichef XL baking sheet lined with greaseproof paper.
Given the large number of eggs, I don't recommend making the génoise sponge in one batch. You can either do 2 batches (8 eggs then 4 eggs) or 3 batches (3 times 4 eggs). If you own a professional mixer, you can make the sponge batter in one batch.
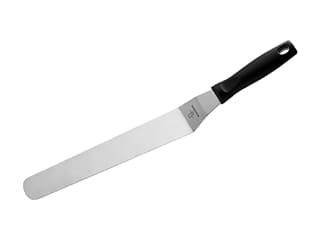
Spread the preparation with a cranked metallic spatula.
Preheat the oven to 180°C (gas 4) and bake...
... until cooked and golden.
When cooked, leave to cool on a rack.
For the pink almond paste: Cut the white marzipan into large cubes. Place in the mixer. This operation can also be done manually.
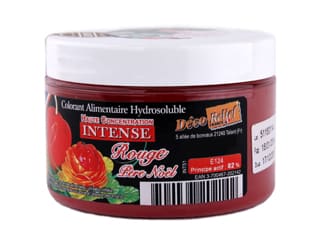
Add the red colouring powder. The amount of colouring varies according to the colour intensity you like.
Work the almond paste until the colour is homogeneous. Finish working the dough with your fingers.
Using a large cake board, draw with a pen 3 circles to the diameters of the 3 rings from the wedding cake mould kit.
... making sure the circles are centred.
Using scissors, cut the 2 rings and the small disc.
Roll out the pink marzipan to a thickness of 2 or 3mm. Using the cardboard disc and rings as a guide, cut the marzipan to the same dimensions. Make sure you cut the marzipan a little bit wider than the guide.
Discard the marzipan scraps...
... and set aside, flat on a sheet of greaseproof paper. Repeat the operation until you have 2 rings. Making whole rings will be too difficult, so I recommend making two half-rings per level.
Repeat the operation to create a marzipan disc. Reserve the marzipan shapes at room temperature, covered by a cloth.
For the crème mousseline: In a mixing bowl, tip the sugar, the egg yolks and the whole eggs.
Blanch the ingredients using a whisk.
Add the crème pâtissière powder or cornflour.
Combine until homogeneous and without lumps.
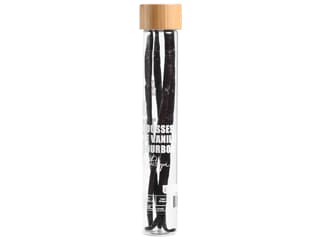
Pour the preparation into the boiling milk (infused with a vanilla pod split in two).
Stir constantly...
... until the crème pâtissière has thickened. The cream should cook for 4 to 5 minutes over medium heat. Leave to cool.
When cold, transfer the preparation into the stand mixer recipient and remove the vanilla pod. Due to the large quantity of preparation, it is best to do this operation in 2 batches.
Add the soft butter. The butter should be at the same temperature as the cream to incorporate well. If the preparation has a grainy texture, slightly heat the sides of the bowl with a blow torch to melt the grains and obtain a homogeneous consistency.
Beat for 2 or 3 minutes.
Add the kirsch. The quantity varies according to the desired flavour intensity. Make sure you taste the preparation before adding more liqueur.
Combine, then remove the bowl from the mixer. The cream should be smooth and homogeneous.
Place two sheets of génoise sponge next to each other. If needed, trim the edges of the two génoise rectangles so they line up perfectly.
Using the largest ring (diameter 36cm), cut a disc of génoise sponge.
Use the tip of a knife and cut along the inner rim of the ring.
Discard the pastry scraps.
Place the intermediate ring inside the large one, making sure it is perfectly centred. The space between both rings should be 5 cm.
Place the small ring in the centre of the medium one.
Cut the sponge cake along the inner rim of each ring.
Coating the biscuit in chocolate: Melt the white chocolate over a bain-marie or in the microwave.
Apply the melted chocolate over the biscuit with a brush (technique known in French as 'chablonner'.
Leave to cool for the chocolate to set.
When set, slide the tip of a knife inside the marks to separate the different rings.
Place the largest stand from the mould kit on a cake board, cut to the same dimensions.
Place the medium stainless steel ring around the stand.
Gently lift the largest ring of sponge cake...
... and place it at the bottom of the mould. The side coated with chocolate should be facing down.
The biscuit can be assembled in several pieces at the bottom of the mould.
Brush the surface of the biscuit with syrup. Make sure you apply a generous amount of syrup, without drowning the biscuit.
Wash the strawberries under running water without manipulating them too much not to damage them. Hull. Sort the strawberries by size (large, medium, small). The large ones will be used to decorate the surface of the cake, the medium ones around the edges and the small ones for the filling.
Arrange the large strawberries (halved) vertically inside the ring, with the cut side facing the ring.
Repeat the operation until the strawberries line the inside of the ring all around.
Using a piping bag (no nozzle needed), pipe a thick lace of crème mousseline...
... all over the biscuit base.
With a small palette knife, create a volcano shape, so that the crème goes all the way up the ring.
This will get rid of any air bubbles between the strawberries.
Pipe a second lace of cream...
... and with the palette knife, make the cream go up the sides of the plastic mould.
Fill the cavity with strawberries (the smallest ones). Hull and halve them.
Bury the strawberries in the cream with the spatula...
... then cover with another layer of cream.
Arrange another layer of halved strawberries...
... then bury them in the cream.
Finish with a thin layer of cream if needed...
... and even the surface with a spatula. It is fine if you see strawberries through the cream, but make sure the surface is perfectly even.
Cover with cling film...
... and reserve in the fridge.
Place the medium stand from the mould kit on a cake board, cut to the same dimensions.
Place the medium stainless steel ring around the stand.
Gently lift the largest ring of sponge cake and place it at the bottom of the mould. The side coated with chocolate should be facing down.
Brush the surface of the biscuit with syrup. Apply a generous amount of syrup.
Arrange large strawberries (halved) vertically inside the ring, with the cut side facing the ring.
Using the piping bag, pipe a thick lace of crème mousseline all over the biscuit base.
With the small palette knife, create a volcano shape, so that the crème goes all the way up the rim.
This will get rid of any air bubbles between the strawberries.
Pipe a second lace of cream...
... and with the palette knife, make the cream go up the sides of the plastic mould.
Fill the cavity with strawberries (the smallest ones). Hull and halve them.
Bury the strawberries in the cream with the spatula...
... then cover with another layer of cream.
Arrange another layer of halved strawberries...
... then bury them in the cream.
Finish with a thin layer of cream if needed...
... and even the surface with a spatula.
Cover with cling film...
... and reserve in the fridge.
Place the small stand from the mould kit on a baking sheet.
Place the small stainless steel ring around the stand.
Gently lift the disc of sponge cake and place it at the bottom of the cake. The side coated with chocolate should be facing down.
Brush the surface of the biscuit with syrup. Apply a generous amount of syrup.
Arrange large strawberries (halved) vertically inside the ring, with the cut side facing the ring.
Using the piping bag, pipe a thick lace of crème mousseline all over the biscuit base.
With a small palette knife, create a volcano shape, so that the crème goes all the way up the rim. This will get rid of any air bubbles between the strawberries.
Fill the cavity with strawberries, then cover with cream...
... and even the surface with a spatula. It is fine if you see strawberries through the cream, but make sure the surface is perfectly even. Cover with cling film and reserve in the fridge.
Assembling the cake: When all three levels are cold and the cream is set, take out the large one.
Remove the cling film.
Take the large disc of marzipan you prepared earlier...
... and remove the centre, using a stainless steel ring (diameter 28cm). You'll simply need to arrange the exterior disc of marzipan around the mould.
Use a sharp knife for neat edges.
Discard the marzipan excess.
Place the marzipan disc on top of the large cake.
Arrange it on the surface...
... then slide a rolling pin along the edges of the ring...
... for a neat, regular result.
Gently cut the marzipan at both ends...
... and arrange the second piece on the other half of the cake.
Make sure both parts are perfectly lined up.
The final result should look like this. As I said earlier, I recommend making two half-rings per level as it will be very difficult to create a whole ring in one go.
Take the medium level out of the fridge and remove the cling film.
Repeat the same operation as the large one, this time using an 18cm stainless steel ring to cut the centre.
Discard the pastry scraps...
... and place the first piece on top of the medium cake. Arrange it on the surface...
... then slide a rolling pin along the edges of the ring and remove the excess.
Gently cut the marzipan at both ends...
... and place the second piece...
... on the uncovered part of the cake.
Arrange well on the surface.
Make sure both parts are perfectly lined up.
Take the small level out of the fridge and remove the cling film.
Place the disc of marzipan on top of the cake and slide a rolling pin along the edges of the ring. Remove the excess.
The final result should look like this.
Release the large cake from the ring. I recommend using blow torch to slightly heat the sides of the ring...
... then gently slide it upwards...
... and remove the ring.
Repeat the operation with the medium cake, using the same method with the blow torch.
Gently remove the ring by sliding it upwards.
Using the built-in handle, lift the medium level...
... and place on the central base of the large cake.
Release the small cake from the ring, using the same method with the blow torch.
Gently remove the ring by sliding it upwards.
Gently place the small level on top, perfectly centred.
The wedding cake is now assembled!
For the Chantilly cream: Organise all the necessary ingredients.
Combine the icing sugar and the whipped cream stabilizer.
Sift the two ingredients together.
There should be no lumps.
Beat the whipping cream (35% fat content). Make sure the whipping cream is really cold. Add the sifted ingredients when you start whipping the cream...
... and beat until you obtain a firm Chantilly cream.
For the finish: Using a piping bag fitted with a Saint-Honoré nozzle, pipe the Chantilly cream on top of the cake and at the base of each level to create a crown.
Halve the best looking strawberries that are left.
Insert a wooden pick on one strawberry...
... and dip it in melted red glaze. If you don't have any red glaze, you can use clear apricot glaze. If you wish, you can add some red colouring to the apricot glaze, and perhaps some strawberry flavouring.
Remove the strawberry, then let the glaze excess drip off...
... and place on a sheet of greaseproof paper.
Leave to cool and repeat the operation with all the strawberries.
Arrange the strawberries along the Chantilly cream crown, with the cut side facing outwards.
Make sure they are harmoniously lined up.
I used whole strawberries coated with glaze to decorate the top part of the cake, then I filled the centre with Chantilly cream.
For a sophisticated effect, apply some gold colouring powder on the strawberries.
Dip a pastry brush in some kirsch liqueur, then in the gold powder...
...et appliquer la poudre d'or par touches sur les fraises.
... and give a light brush on each strawberry.
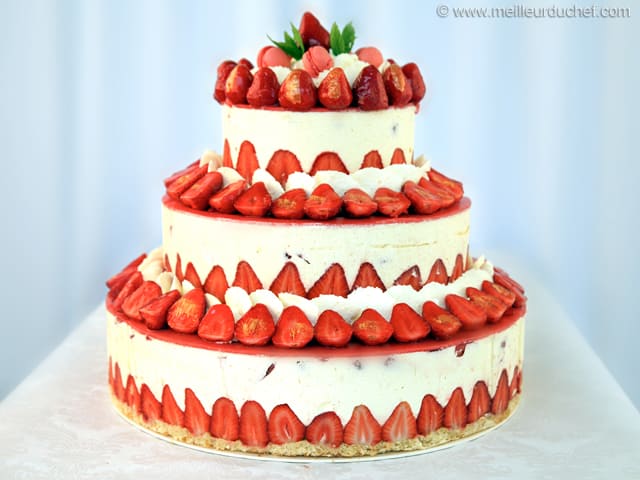
The final result should look like what is shown in the photo.
Finish by arranging a few leaves of fresh mint and homemade mini strawberry macarons on top.
I really hope you and your guests will enjoy this dessert!
It is a great recipe for every special celebration in your life, such as a wedding of course, but also for a birthday, a baptism, a communion or a large dinner party.
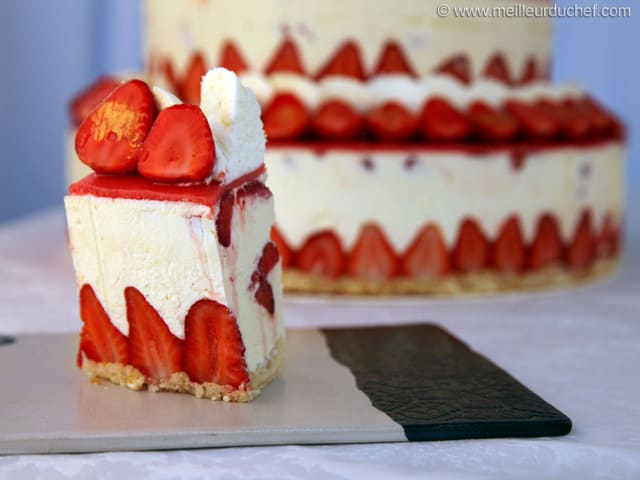
This unique mould kit allows you to cut a slice of cake at any level without causing the whole structure to collapse. Each level is separate to ensure optimal stability.
If you are making a cake with three different flavours (1 tier = 1 flavour), this mould allows you to easily serve a slice from each level.
Please login to post a review