You can always send us your messages, comments or suggestions.
In one click, store and find all your favourite recipes.
Add this recipe >For the cocoa nib biscuit (for a square of 33.5 x 33.5cm): Organise the ingredients on your workbench.
Place the matured egg whites in the stand mixer recipient.
Start beating at medium speed and add the sugar in several batches.
Increase the speed gradually as the egg whites are increasing in volume. We want smooth, light peaks but not stiff. Make sure you don't over-beat them with sugar.
In a separate bowl, place the whole eggs, egg yolks and castor sugar.
Beat in the stand mixer until foamy. Start beating at medium speed...
... and increase the speed gradually.
The preparation should become pale and increase in volume. This should take between 3 and 4 minutes.
Remove the bowl from the mixer...
... and add the sifted flour in 2 or 3 batches and combine with a whisk.
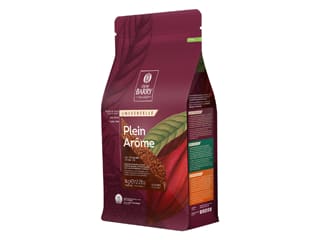
Add the sifted cocoa powder in 3 batches and make large round motions with the whisk.
Combine carefully until completely incorporated.
Add 1/3 of the beaten egg whites to the chocolate preparation and whisk.
Make sure you mix right down to the bottom of the bowl.
Add the rest of the egg whites...
... and fold with a rubber spatula.
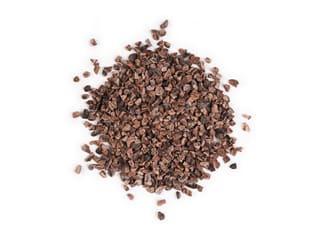
Add the roasted cocoa nibs in 3 batches and combine.
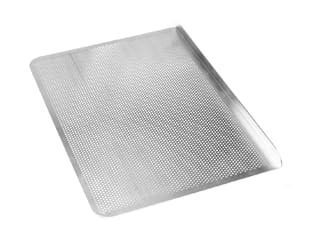
Pour the preparation into a Flexipan Entremets baking mat 33.5 x 33.5cm. Place the Flexipan mat on a Silichef XL perforated baking sheet.
Pour the preparation inside the silicone mat.
Spread with a cranked metallic spatula to create an even layer.
Bake in a fan-assisted oven preheated at 200°C (gas 6) for 10 minutes. When cooked, remove from the oven...
... and leave to cool at room temperature.
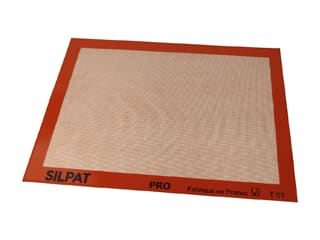
To preserve the moisture of the biscuit, cover immediately with a Silpat baking mat...
... and a tea towel, then set aside to cool. This will help the biscuit to store for longer.
For the chocolate cream insert (make the day before): Pour the milk and whipping cream in a saucepan.
Add the glucose syrup, melted in the microwave for a few seconds beforehand. Place the pan on the stove.
Stir with a rubber spatula until the glucose syrup has dissolved.
Place the egg yolks in a bowl. When the preparation starts boiling, pour over the egg yolks and combine with a whisk.
Transfer the preparation into the saucepan used to boil the ingredients...
... and cook 'à la nappe', i.e. until the consistency is thick enough to coat the back of a spoon. Heat the preparation up to 82°C, making sure not to exceed 85°C so the eggs don't coagulate.
Pass the cream through a fine sieve over the dark chocolate.
Let the chocolate melt without stirring for a minute...
... and whisk, going from the centre outwards.
Place a plastic insert yule log mould on a baking sheet.
Transfer the chocolate cream in a piping bag.
Fill both cavities of the yule log insert mould...
... making sure to distribute an even quantity of cream in both cavities.
Set aside to cool, then place in the freezer. The ingredients listed here make two inserts. We only need one for this recipe but you can easily store the second one in the freezer and use for another yule log recipe.
For the orange mousse: Organise all the necessary ingredients.
Place the whipping cream in the stand mixer recipient.
The cream should be cold, with a 35% fat content.
Beat until smooth.
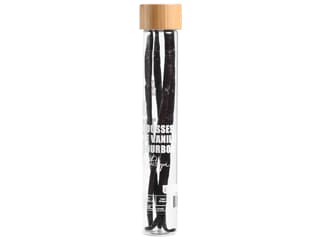
Cut the vanilla pod lengthwise.
Scrape the seeds out with a knife.
Pour the milk in a saucepan.
Add the vanilla pod and seeds. Bring to a boil.
Place the egg yolks in a bowl.
Add the castor sugar.
Blanch the ingredients using a whisk.
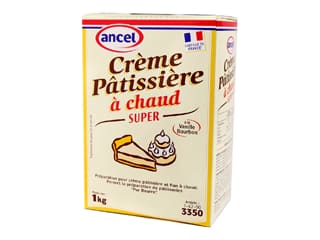
Add the crème pâtissière powder or corn starch.
Combine with a whisk until homogeneous.
Add the boiling milk and combine with a whisk.
Transfer the preparation into the saucepan used to boil the milk.
Cook over medium heat until thick.
When cooked, take the cream away from the heat...
... and transfer into a bowl. Remove the vanilla pod.
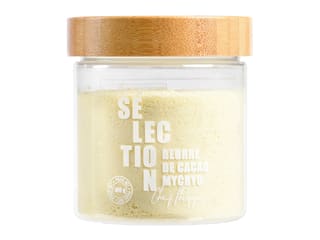
Add the Mycryo cocoa butter to the hot cream.
Combine well. The cocoa butter will melt quickly but won't incorporate easily.
Whisk for a good couple of minutes.
Place the orange-flavoured chocolate in a bowl...
... and melt in the microwave, in periods of 30 seconds to make sure the chocolate does not burn. Stir every time.
Add the melted chocolate to the preparation.
Combine well with a whisk until homogeneous. Let the temperature go down to 30°C.
Add 1/3 of the whipped cream to the chocolate preparation (at 30°C).
Combine vigorously with a whisk.
Add the rest of the whipped cream...
... and fold gently with a rubber spatula.
The result should look like this.
Transfer the orange mousse into a piping bag.
Assembling the log:Place the Silikomart silicone yule log mould on your workbench...
... and get a bubble silicone mat.
Line the mat inside the mould, with the printed side facing up.
Cut the tip of the piping bag to obtain a diameter of 7 or 8mm.
Pipe a layer of orange mousse at the bottom of the mould to a thickness of 2cm.
With a small palette knife, create a volcano shape so that the cream goes all the way up the rim. This is essential to get rid of air bubbles.
Pipe two or three laces of cream in the centre.
Remove the chocolate insert from the freezer and release from the mould. If you handle the mould carefully, you will be able to reuse it again.
The chocolate insert is now ready.
Cut the insert to the length of the mould minus 1cm, i.e. 24cm.
Release the cold cocoa biscuit from the silicone mat. Trim the edges, using a ruler and a knife.
Using a serrated knife, cut two strips of biscuit. One strip will be the base of the insert (24 x 4cm). The second to the dimensions of the yule log mould (24 x 8cm).
The elements are ready.
Place the narrow biscuit strip at the base of the insert.
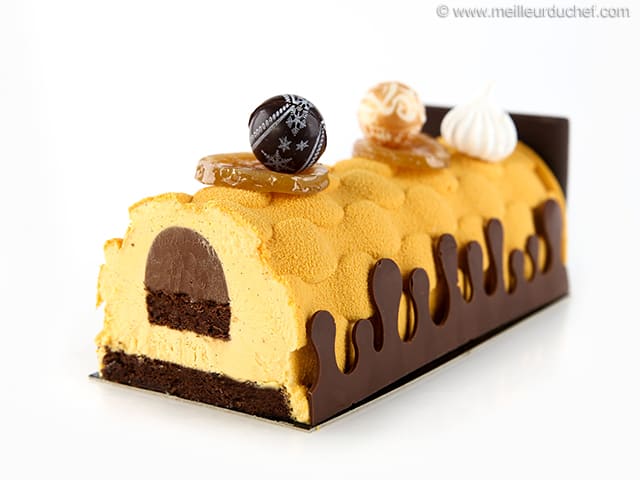
Arrange the insert in the centre of the mould and bury slightly in the orange mousse, with the rounded side facing down.
Fill the rest of the mould with orange mousse.
Using a palette knife, create a volcano shape again.
Place the large biscuit strip on top. Press gently on the biscuit so it comes right up to the rim of the frame. The orange mousse should come up the sides a little.
Even the excess cream with the spatula.
The result should look like this.
Cover the surface with cling film and place in the freezer.
Up to this stage, this recipe can be prepared 10 to 15 days in advance.
For the orange icing: Organise the ingredients. I'm using orange coloured and flavoured chocolate. You could also use white chocolate with orange colouring for an orange icing with a neutral taste.
Place the orange chocolate and Mycryo cocoa butter in two microwave-safe recipients.
Melt both ingredients separately. The chocolate should not exceed 45°C. The use of a laser thermometer is recommended for this operation.
Add the melted cocoa butter to the orange chocolate. The cocoa butter doesn't need to be completely melted for this operation.
Combine well with a rubber spatula.
Transfer the preparation at 45°C into a chocolate spray gun. I used a cheap paint spray gun for this recipe, which works really well for this type of application. There's honestly no need to buy an expensive chocolate spray gun.
At this stage, you can add gold or silver colouring to add an iridescent effect. Mix with Bamix hand blender.
Fit the spray body on the recipient and screw until tight.
Take the cake out of the freezer and remove the cling film.
Flip the log onto a baking sheet and remove the silicone mould. The silicone mould should be easy to detach from the frozen log.
Using a knife, trim the base of the log.
Carefully detach the bubble silicone mat from the surface of the cake...
... by pulling one corner...
... very carefully.
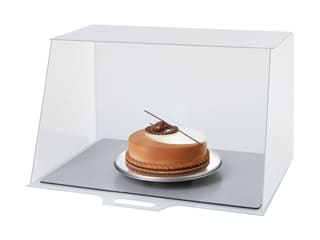
Place the tray in a spray booth to ensure a mess-free operation.
Spray the orange icing at 45°C over the surface of the cake.
Adjust the gun if you find the coating too volatile.
The gun releases micro drops of icing which will set instantly in contact with the frozen cake to create a nice velvet pearl finish.
Make sure you apply the coating evenly...
... on both sides...
... and both ends. The orange coating should be a very thin layer. Important: The icing will crack if it is too thick.
This is what the result should look like.
Gently lift the log with a cranked spatula...
... and arrange it on a yule log cake board.
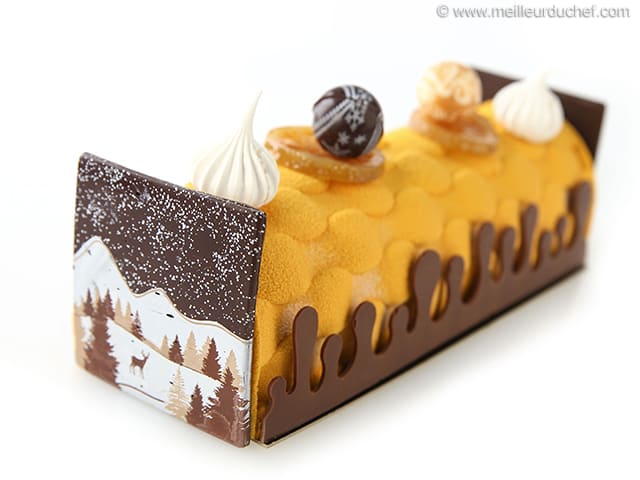
For the finish: Stick water drop chocolate decorations at the base of both sides of the log, using a few drops of melted chocolate.
Use a cooling spray for a faster operation.
Stick decorated yule log tips at both ends of the cake.
Arrange a few slices of candied orange or other citrus as well as 3D decorated chocolate balls...
... and meringue decorations.
Reserve in the fridge until ready to serve.
Defrost for at least 3 or 4 hours in the fridge before serving. Enjoy this delicious Christmas dessert!
Please login to post a review